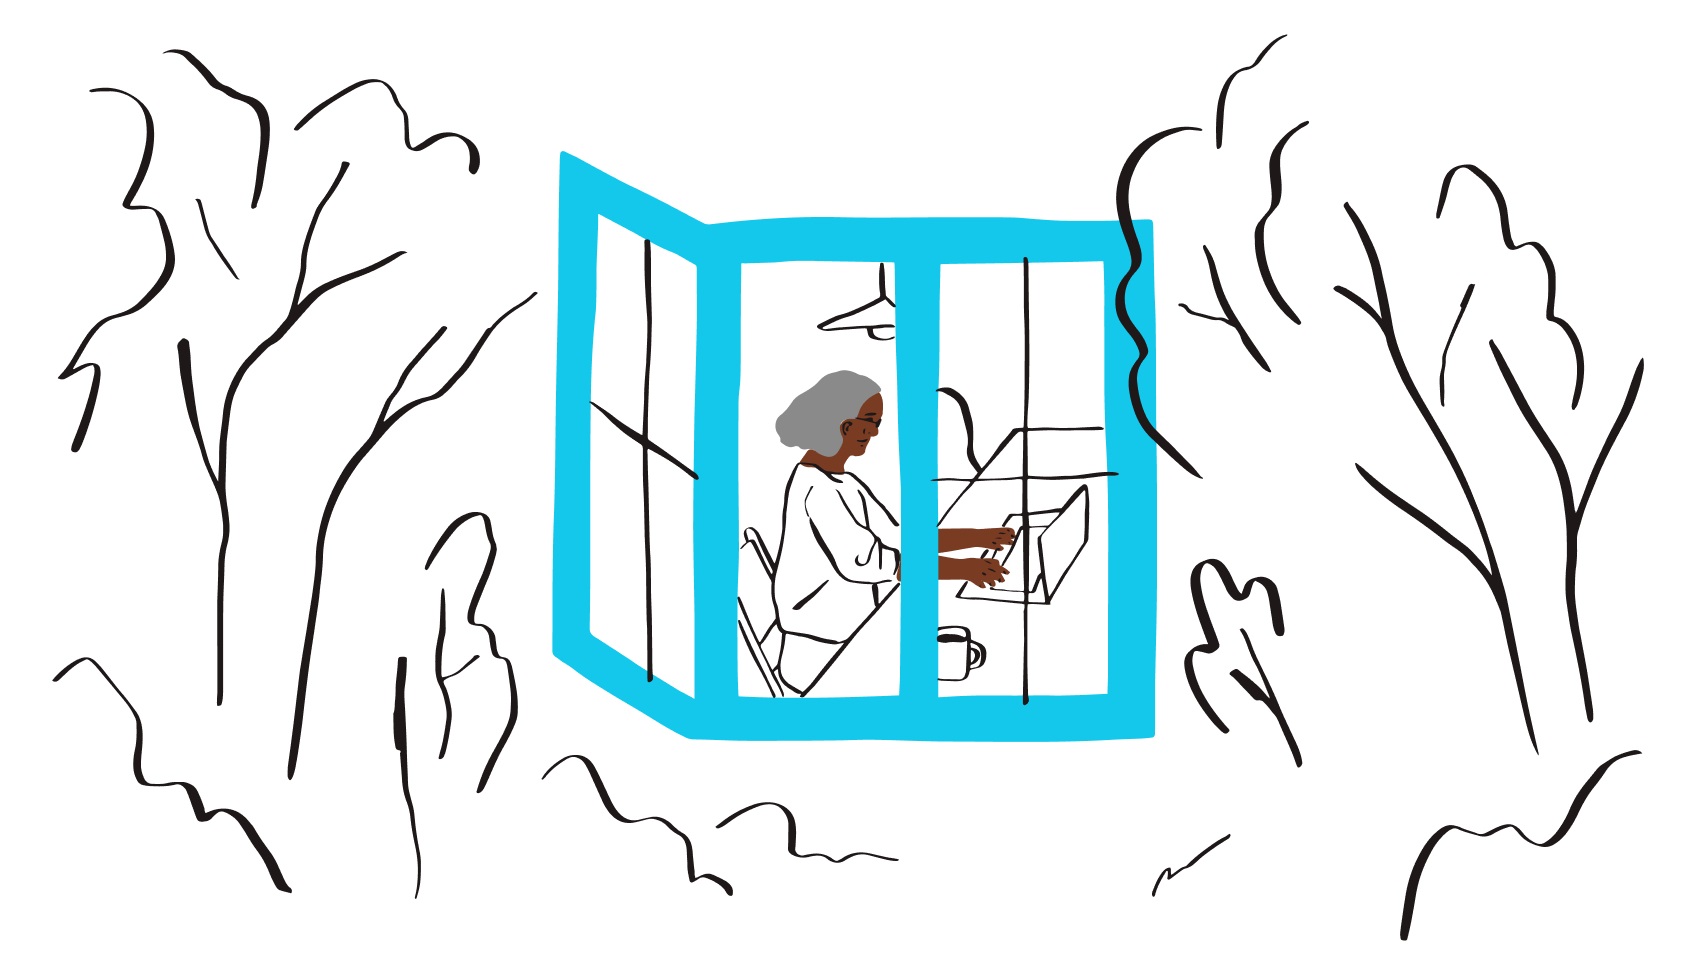
Presenting creative work can be difficult—especially when teams are distributed, meaning an in-person meeting may be out of the question.
Virtual First events rapidly gained popularity during the COVID-19 pandemic, and are showing no sign of slowing down. They’re more convenient for many individuals and businesses, as attendees aren’t burdened with lengthy travel times to attend in person.
For creative projects like video content, presenting work virtually—through a “virtual screening” or “watch party”—opens up the potential for collaboration and more efficient communication between creators and clients.
But how do you achieve this? And just what is a “virtual screening”? You’ll learn the answers to these questions, as well as find tips and tricks to hosting a virtual screening, in this complete guide.
What is a “virtual screening” or “watch party”?
A watch party or virtual screening event is an organized session where a group of people—either colleagues, agencies and clients, or even friends—come together virtually to view some previously recorded video content. Depending on the purpose of the screening, the video could be a webinar, film, TV advert, or training material.
If you’re a filmmaker, a virtual film screening with a distributor or the organizers of a film festival could help your work get picked up and shown to a wider audience.
This kind of gathering happens over the internet, meaning you and your fellow viewers don’t need to be in the same room, city, or state to participate!
For video projects, virtual screenings provide a space for collaborators and stakeholders to review the content together—speeding up the process of gathering and actioning feedback, so you can reach that final version much faster.

Step-by-step to hosting a virtual screening
You’ve edited your video and now it’s ready to present to the client for feedback and next steps. Here’s how to plan and host a virtual screening for your video project, using key tools like Zoom and Dropbox Replay.
Step 1: Choosing your screening platform
As the host, it will be up to you to decide which platform to use for your virtual screening. There are a variety of options to pick from, so in making your decision there are a few things to consider:
- Your audience/participants—will everyone be willing and able to install third-party software or extensions for the viewing? Or will a browser-based tool like Dropbox Replay be more appropriate?
- Interactivity—do you want participants to provide comments within the review tool, during the screening? What about frame-accurate annotations and on-screen markups?
- Sync/async—does everyone need to be able to watch the video at the same time? If not, an asynchronous session might be easier to manage.
Zoom is a popular and convenient platform for hosting virtual events—many of us will have become familiar with the tool during COVID-19 lockdowns, when we relied on online methods to stay connected with our peers.
And when you integrate Zoom with Dropbox, you can seamlessly share feedback and collaborate on videos in real time. You can:
- Add, join, and instantly start a Zoom meeting from Dropbox content.
- Automatically save recorded Zoom meetings and transcripts to Dropbox.
- Present documents, slides, and images from Dropbox while in a Zoom meeting.
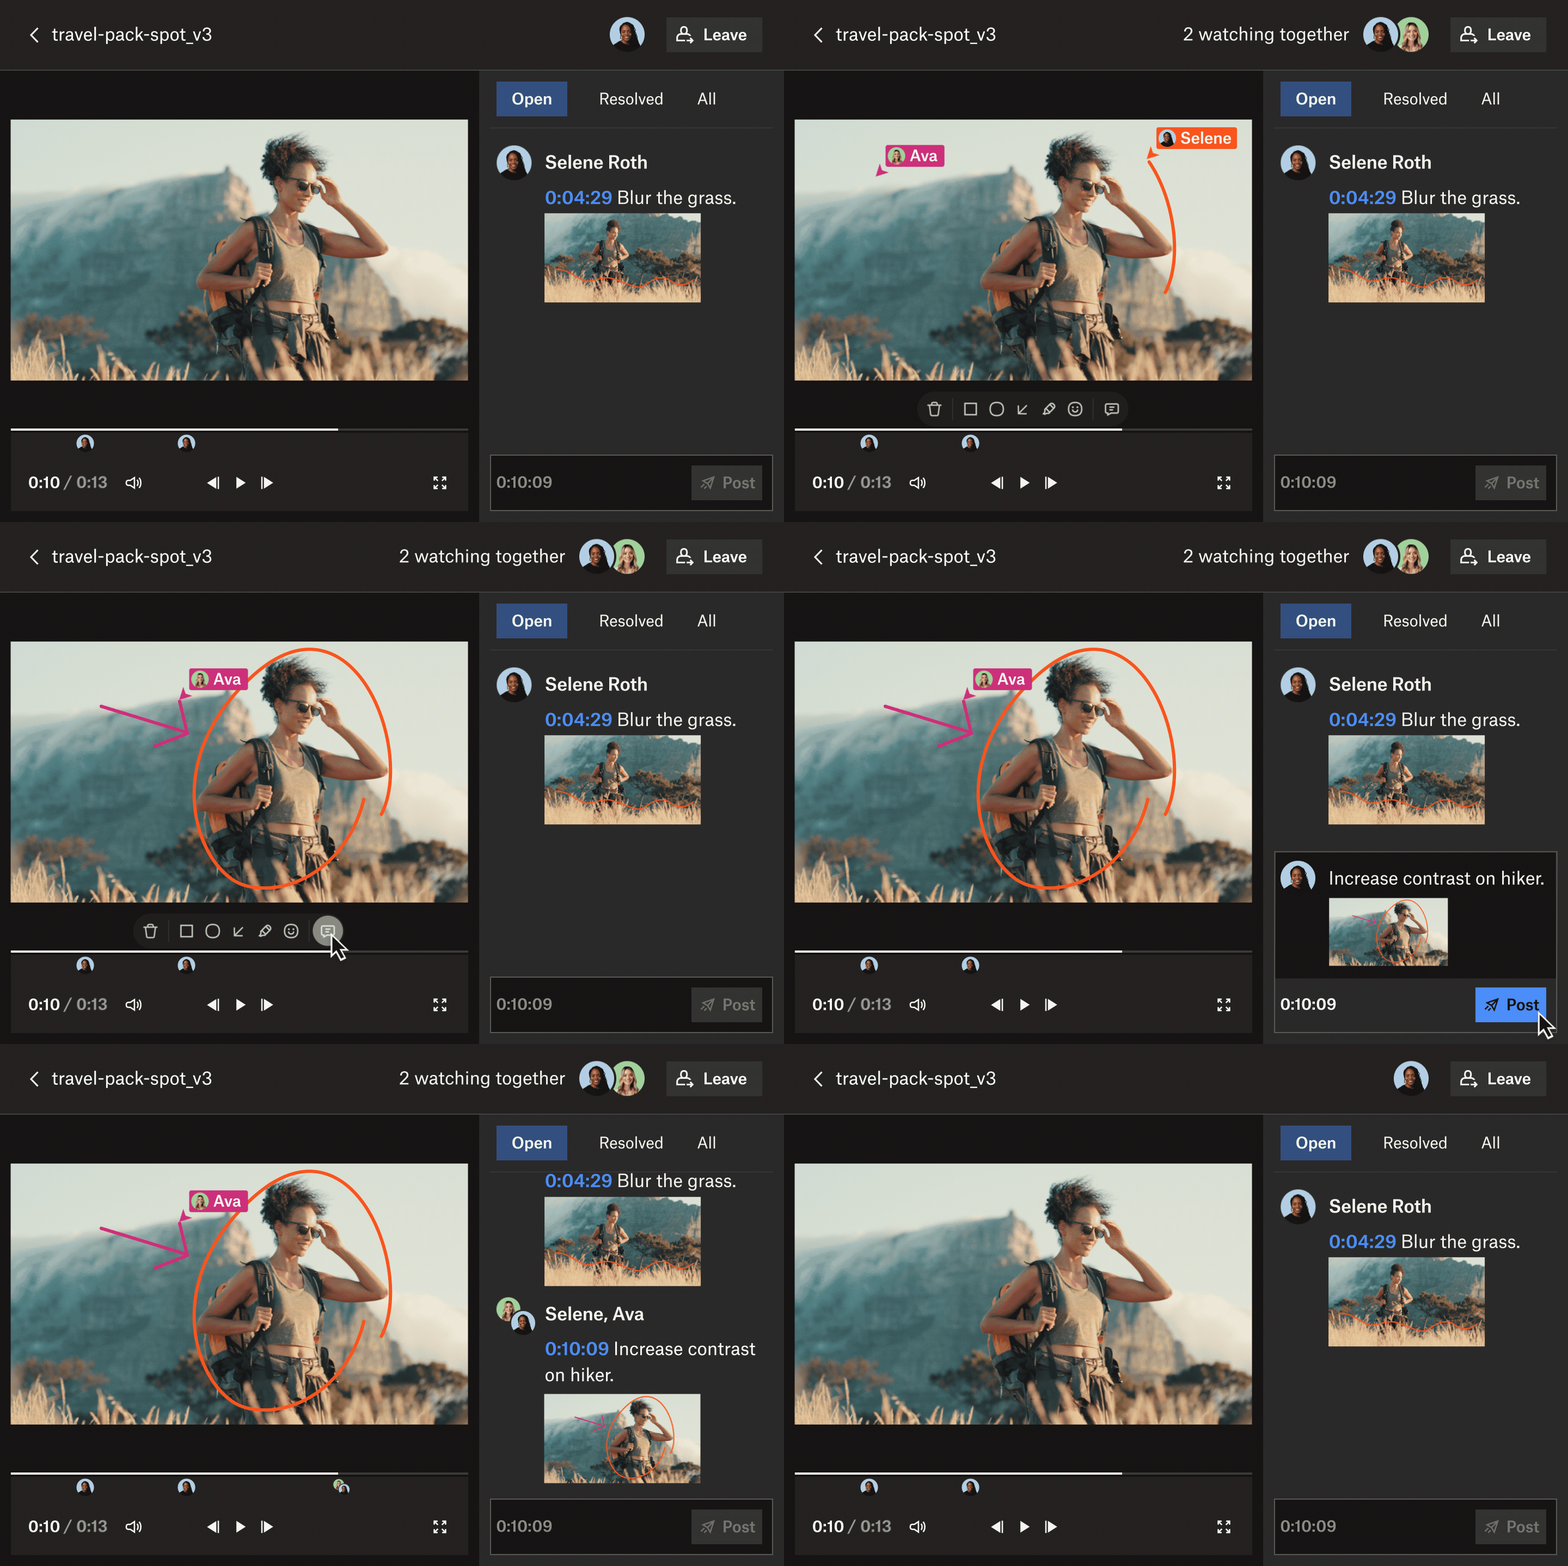
To host a virtual screening within Zoom, you could share a link to a video in Dropbox Replay with your participants. Inside this browser-based virtual viewing room, everyone can watch the video at the same time and pin comments and markups to particular frames.
Step 2: Sending out your virtual invitations
Invite the attendees to your virtual screening at least a week before the event. This gives them time to check and arrange their personal schedules before committing to their RSVP.
Closer to the day of the screening, you can follow up your invitation email with a reminder that contains:
- A streaming link or link to the meeting, depending on your chosen platform (so this doesn’t get lost in their email inboxes!)
- A summary of what audience members/attendees can expect at your virtual screening
- An agenda, if necessary, to ensure attendees are all on the same page
- For video projects with a lot of stakeholders, having an agenda for the online screening can help keep the meeting focused and organized
- You can schedule a welcome speech to explain your approach to the project, plan breaks for a virtual Q&A or discussion, and allow time at the end of the screening for wrapping up and proposing the next steps in the project (such as actioning the feedback)

Step 3: Starting the screening
Much like in-person screenings, it may be optimistic to assume your virtual screening is going to start at exactly the time you planned. Attendees may have some unexpected issues with their internet connection, or other access problems that might cause delays.
As the host of the screening, it will be your responsibility to ensure these minor setbacks don’t spiral into disruption.
Once all of your attendees have successfully joined the virtual meeting, you might want to start with a few icebreakers before launching the screening. This will be helpful if several of your reviewers are unfamiliar with one another, as it may help them feel more comfortable to give honest feedback once the screening has started.
Bear in mind that, in Dropbox Replay, anyone in a live review session can control audio or video playback—as the host, you may want to mediate this by setting some boundaries or housekeeping rules.
Step 4: Gathering feedback and ending the screening
Feedback is important in any video project, but gathering comments and actions from reviewers can often be a hassle.
Dropbox Replay solves the issue of scattered feedback. When you host a virtual screening in Replay, attendees can attach annotations to specific frames in the video timeline, as well as on-screen markups.
After the video has played and reviewers have had the chance to give their feedback and ask questions, it’s time to wrap up the screening. You might have some closing remarks prepared, or you could read back the meeting minutes that you’ve tracked in Dropbox Paper.
Reviewers may need a bit more time to reflect on the project and rewatch the video in their own time. Even after the screening has ended in Dropbox Replay, reviewers can still post comments and drawings in the video as long as they have comment permissions.
If you’ve been recording your screening in Zoom, this will automatically save to your Dropbox account so you can share this with your attendees.
By conducting your live review session in Dropbox Replay, it’ll be much easier to keep track of and action the feedback you’ve gathered—especially as you can upload videos and access feedback directly from Adobe Premiere Pro and other editors.

Seamless virtual screenings with Dropbox Replay
Dropbox brings everything you need to elevate your video collaboration process, without sacrificing your favorite tools and editing apps.
With Dropbox Replay, everyone can watch and mark up the same video at the same time—with smooth, high-definition video playback that stays in sync for all viewers.
