Article
Find out how to use Dropbox’s eSignature tool HelloSign to create secure, legal contracts. Follow these simple steps for a seamless close.

Every day, salespeople in businesses, both large and small, ask potential clients and customers to review contracts, sign documents and send them back. There’s a lot of busywork on the backend though and manual sales practices can suck up tons of time and cause friction for leads.
But sales contracts are surprisingly easy to complete, sign and store online. Here’s how to add eSignatures to your workflow:
To begin, open your sales contract file.
Next, sign in to your HelloSign account. (Don’t have a HelloSign account? You can create a free one in seconds.)
After signing in, you’ll see the Who needs to sign? menu. For a sales agreement, you’ll probably be choosing between Me & others or Just others. After selecting the best fit, it’s time to upload your document. You can drag your document into HelloSign, choose Add File or use any of our integrations to upload your sales agreement.
After uploading your document, you can add signers, loop in other parties via the CC feature and assign a signer order if needed. Once this preliminary information is filled in, you’re ready to Prepare doc for signing.
With the sales contract you imported pulled up, you can click any of the fields across the top of the page and drag them to where you want to place them in the document. Most of the fields have advanced features and some even let you add a validation type (email address, numbers only, etc.) to help guide signers and reduce errors.
Once you get your formatting just right, click Continue at the top of the page. Back on the Get your document signed page, you’ll add a title and an optional message and send your sales agreement out for signatures.
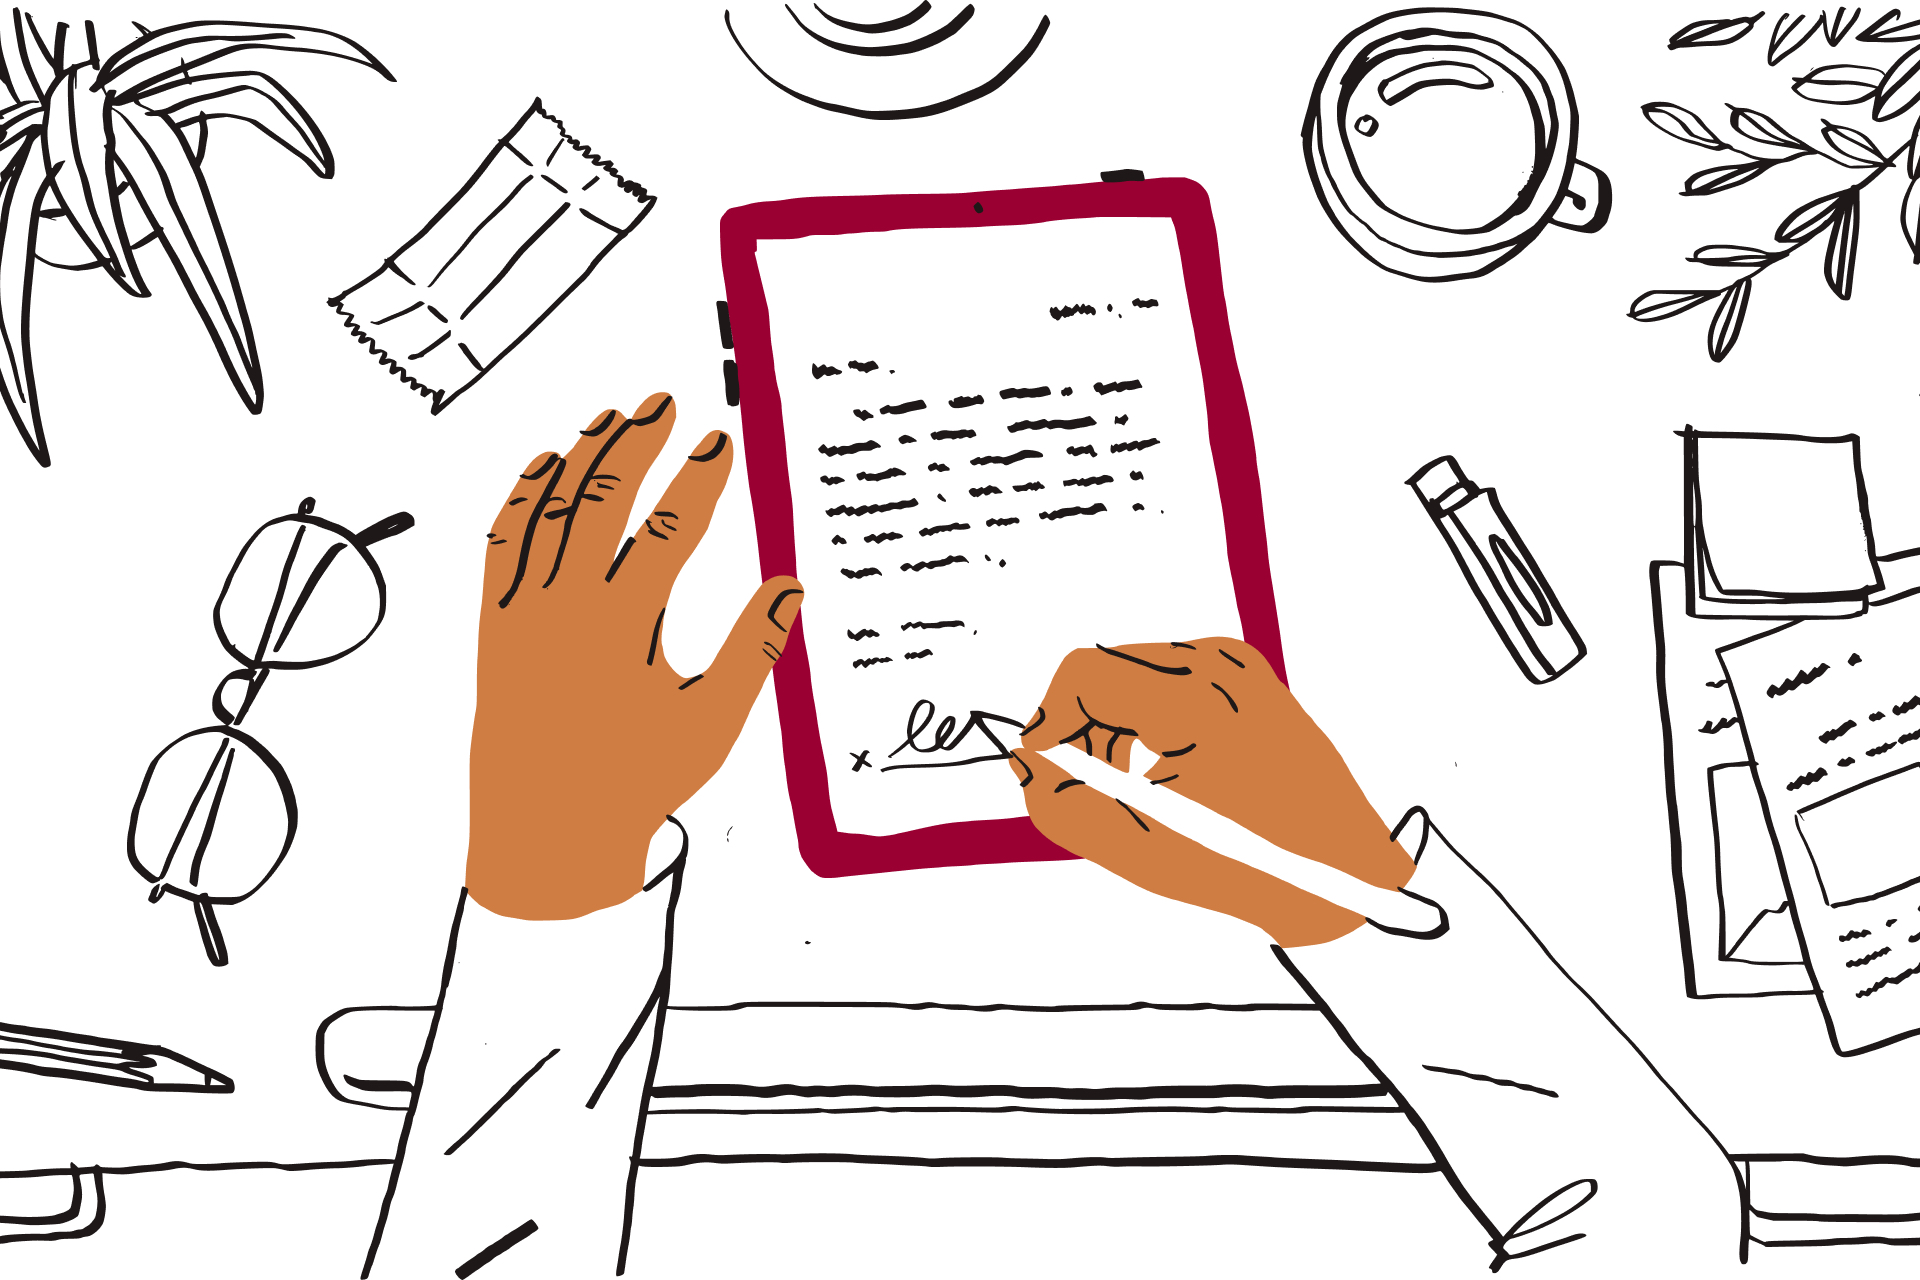
The signer will receive an email as soon as you send it out for signatures. To sign, they simply click the Review & Sign button in the email.
Here are a few different ways to create an electronic signature:
HelloSign will automatically prompt each signer to complete all their required fields. Once you’ve filled in your portion of the sales contract, all you have to do is agree to one last legality measure and you’re all set.
To check the status, edit or download a copy of your sales agreement, go to the Documents section of your HelloSign dashboard any time. You’ll also have access to the time-stamped audit trail that is attached to every document signed with HelloSign.
Sales contracts only scratch the surface when it comes to all the paperwork and processes you can streamline with HelloSign. Want to make closing a sale even more seamless with your workflows? HelloSign API empowers you to embed sales contract workflows right into your applications and processes. And you’ll even be able to use our white-labelling features to top off the seamless, on-brand signing experience.
Article
Article

Article

Article
