Table of contents
- Starting from the top: What is a video presentation?
- What makes a good video presentation?
- What tools do you need to make a video presentation?
- How to make a video presentation
- How to record a video presentation in PowerPoint
- How to record a video presentation in Keynote
- Easily share and manage your video presentations with Dropbox
Whether you’re a teacher, student, business professional, or even a YouTube content creator—for many of us, delivering presentations is a standard part of everyday life.
But what happens if you can’t be there to deliver your presentation in person, need a key point to land perfectly, or you need your audience to watch it asynchronously in their own time? Have no fear, video presentations can be a great solution to all these challenges.
In this guide, we’ll cover everything there is to know about making a video presentation, so your audience can benefit from your content whenever they need it.
Starting from the top: What is a video presentation?
A video presentation is a method of communication through which information is delivered partially or entirely through video. In other words, it’s the process of using video to deliver a message or presentation.
Common formats for video presentations might include pre-recorded slide presentations, instructional videos, sales material or demos, and inspirational talks. Basically, anything you can think of!

What makes a good video presentation?
While the reaction to a video presentation will be subjective, there are a few general qualities that can be beneficial to keep in mind:
- Make your video valuable—have a clear intended outcome for the viewer and be sure to reach it.
- Make sure your audio and video are clear—you want your audience to focus on your message, not your video quality.
- Bring your key points to life—use stories, questions, and examples to illustrate key concepts and engage viewers.
- Establish expectations—use your introduction to set clear expectations, either with an agenda or teasing where the session is heading.
- Don’t rely on slides—if the slides added all the value, you could just send your audience a PDF. Ask yourself: what are you adding to the content by presenting it?
- Keep an eye on time—don’t make your video presentation longer than it needs to be.
- Mix it up—break the monotony and change pace at appropriate intervals.
- Don’t start over for the sake of perfection—if you make a mistake during recording, you can always edit it out later.
What tools do you need to make a video presentation?
Before you can start creating your own video presentations, you’ll first need a few basic tools.
Hardware for a video presentation
Let’s start with the basics, your tech. In most cases, you’ll have everything you need if you have a standard laptop or desktop computer.
Here’s what you’ll need to start making video presentations:
- A laptop or PC—you’ll need something to make the presentation recording on
- A microphone—to record your voice-over, either built-in or USB
- A camera—if you want to include video of yourself, either as a built-in webcam or a USB camera
Video recording software
With your tech set up, you’ll need software to record your presentation. Depending on your needs, this might be something to record your screen, record your voice, or record yourself with your camera.
While presentation applications like PowerPoint and Keynote have some screen and presentation recording capabilities, they only allow you to record the presentation.
Luckily, Windows 10 and 11 and macOS come with built-in screen recording software that allow you to record your whole screen, a specific window, or only a select part of it (more on how to use these below!)
Being able to record your whole screen allows you to jump between windows and apps throughout your presentation recording—giving you greater freedom in what you present.
File storage and sharing tools
Ultimately, you’re going to want to make your video presentation available for viewers somewhere.
With Dropbox cloud storage, this is as easy as copying a link, with full control over access and permissions for your files.

How to make a video presentation
We’ll now cover all the steps to create an impactful video presentation, starting from the very beginning—your plan.
1. Plan your topic, examples, and intended audience
You likely already have an idea of what you’ll want to cover in your video presentation, but it can help to formally get this down on paper:
- Presentation aim—what do you want your audience to understand by the end of the video?
- Approach—broadly, what will you cover to help them understand this concept?
- Resources—what examples will you be able to share to illustrate the key concepts?
To help with the planning process, Dropbox Paper has a number of pre-built templates to get your creative juices flowing, like the brainstorming template.
2. Create your presentation slides and your video presentation storyboard
If you haven’t already done so, it’s time to create your slides.
While doing this, you should also think about the overall storyboard of your video presentation—what are the key beats, how will you present them, and what slides do you need?
A storyboard is a visual tool used by video producers to map out the narrative flow of a video and the visuals that will accompany it. In many cases, your presentation will almost act as a storyboard, but it might help to get this down on paper first.
3. Record your video presentation
With your storyboard and presentation ready, it’s time to go about creating your recording.
Both Windows and Mac come with built-in tools that make it easy to create your pre-recorded video lesson in one take. Perfect, if you don’t have access to advanced video editing software.
On Mac
You can record your screen on a Mac with the Screenshot tool (macOS Mojave or later) or QuickTime Player. To do so:
1. On your keyboard, hold down Shift, Command, and 5 at the same time to open the Screenshot tool.
- Or, open QuickTime Player, then choose File > New Screen Recording from the menu bar.
2. Choose whether to record your whole screen or a selected portion of your screen
3. If you want to record audio for your video at the same time, click Options, then select your microphone input from the list.
- From here, you can also choose where to save your video once you’ve finished recording. You can either save your video locally on your Mac or store it in your Dropbox cloud storage by clicking Other Location… then selecting Dropbox from your list of locations.
4. Click Record to start recording.
5. Click the Stop button (a circle with a square in it) in the menu bar, or press Command-Control-Esc (Escape) to stop recording.
On Windows
You can record your screen on Windows 10 and 11 with Xbox Game Bar or Screen Recorder in the Snipping Tool.
To record your screen with Xbox Game Bar:
1. Open the Xbox Game Bar by pressing Windows+G on your keyboard.
- Or, search for it directly in your Start menu search box.
2. In the control panel, select the Camera icon to open a window for capturing your screen.
3. If you want to record audio for your video at the same time, click on the Record Mic option.
4. Click Record (the button with a solid white circle) to start recording.
5. Click Stop (the button with a solid white square) to stop recording.
Your recording will be saved as an MP4 to the Videos folder on your computer.
To record your screen with the Screen Recorder feature in the Snipping Tool:
1. Search for the Snipping Tool in your Start menu search box.
2. In the control panel, select the screen recording option (an icon of a video camera).
3. Configure your audio settings.
- Click the ellipsis icon in the upper-right of the control panel and select Settings. Scroll down the screen to the Screen recording section.
- To automatically start recording audio through your microphone, toggle Include microphone input by default when a screen recording starts to "on.”
- To automatically start recording your PC's system audio, toggle Include system audio by default when a screen recording starts to “on”.
4. Click the + New button, then click and drag your cursor to select the area of your screen you want to record.
5. Click Start in the toolbar to start your recording.
6. Click the Stop button (an icon of a red square) in the toolbar to stop recording.
Your recording will be saved as an MP4 to the Videos folder on your computer.
4. Edit your video presentation
If you’re already happy with your recording, there is no further editing required.
In any other cases, you can use video editing software like Adobe Premiere Pro to apply finishing touches to your video as you see fit. These edits might include:
- Editing your screen recording and voice-over together (if you have separate files)
- Cutting and deleting unwanted sections of video—like an awkward pause or a dog barking
- Removing awkward filler words—clean up those pesky “ums” and “ahs”
- Adding text overlays to emphasize key points of video sections
- Putting in additional flair and visual elements
- Adding background music to create an atmosphere
5. Share your video presentation
With your video presentation finished, you’ll need a way for your viewers to access it.
Before you share your final video, it might be a good idea to gather some feedback on your recording. With Dropbox Replay, you can get frame-accurate, time-stamped comments from collaborators—even those who don’t have a Dropbox account.
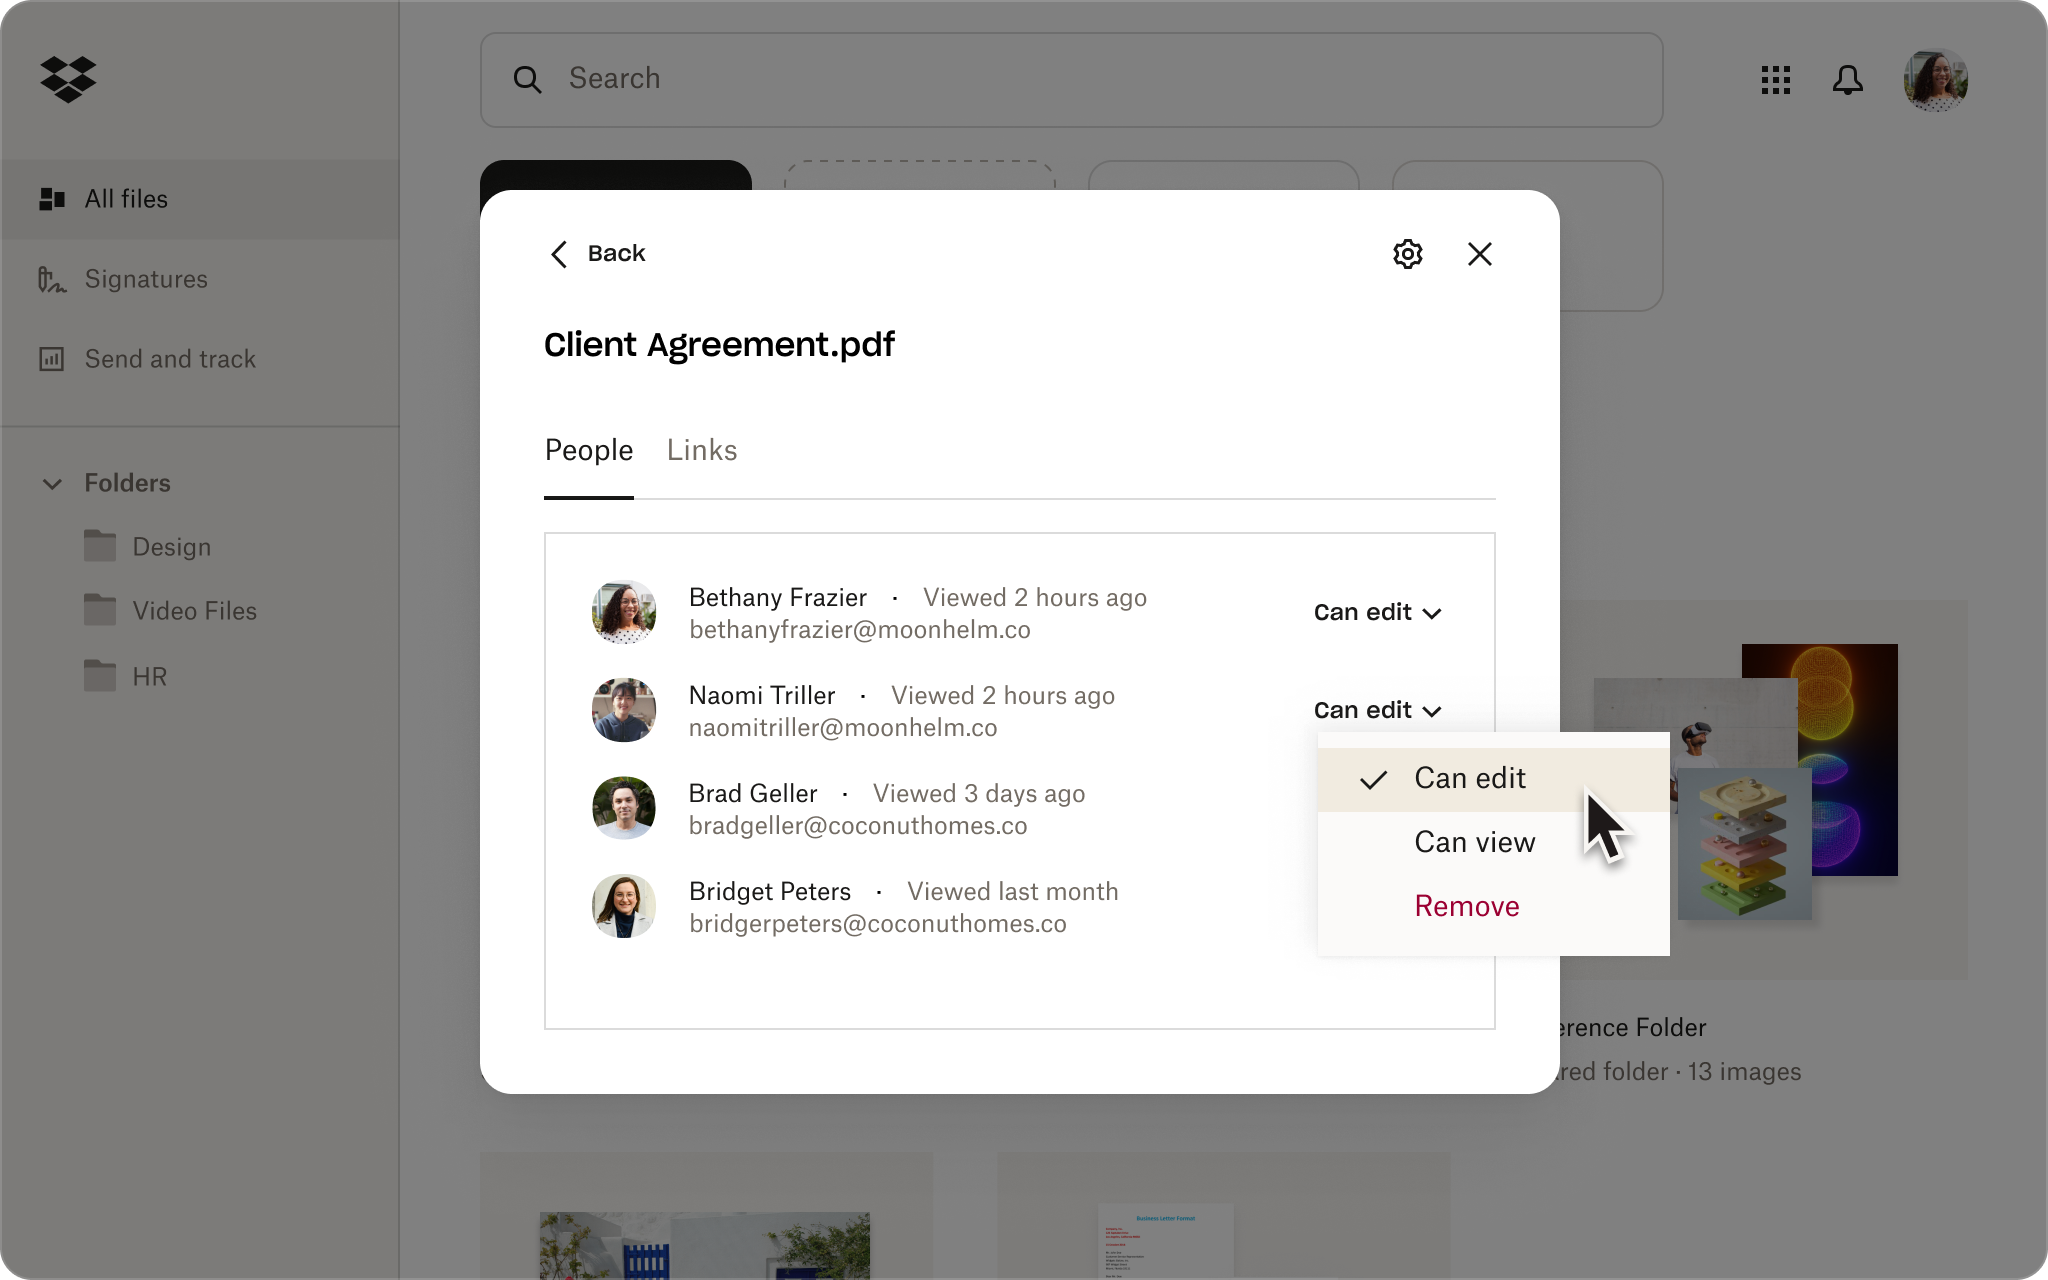
Dropbox cloud storage makes it easy to share your video files with anyone and see who’s viewed your video presentation. All you need to do is copy a link to the file. If you want to send a copy of the full video, complete with its cumbersome file size, Dropbox Transfer makes it easy to send large files securely.
How to record a video presentation in PowerPoint
It’s worth keeping in mind that, when recording directly within PowerPoint, you can only record your slides and your editing options will be limited.
However, if you’d still prefer to record directly in PowerPoint, you can do this by following these steps:
- Open PowerPoint and open your presentation file.
- Navigate to the slide you’d like to start recording from.
- Select Record in the top-right corner of the PowerPoint window.
- Click the red Record button, wait for the countdown, then start your presentation.
With your presentation recorded, you can then save it to your Dropbox cloud storage, making it easy to share your video files with anyone and see who’s viewed your video presentation.
How to record a video presentation in Keynote
If you’re a Mac user, your control over what you record and how the final edit turns out will be limited when recording directly within the Keynote app.
However, if you’d prefer to record directly in Keynote, here’s how to do it:
- Open Keynote and open your presentation file.
- Navigate to the slide you’d like to start recording from.
- Select Record Slideshow from the Play menu at the top of the screen.
- Click the red Record button, wait for the countdown, then start your presentation.
With your Keynote presentation recorded, you can then save it to your Dropbox cloud storage and share it simply by copying the link.
Easily share and manage your video presentations with Dropbox
Getting your video presentations in front of the right people is easy with Dropbox. You can just upload your video, grab a shareable link, and send it to anyone—no more worrying about file size limits in emails.
Plus, Dropbox integrates with the tools you’re already using—like Adobe Premiere Pro for video editing—so all of your work is centralized in one secure place. And with Dropbox Replay, collaborators can even leave time-stamped comments directly on the video presentation, making feedback fast and clear. It’s the ideal tool to keep everything organized and everyone on the same page!


