Not everyone appreciates the ease of screen recording or has the right tools to make it work for them. Luckily, there are free and easy ways you can use Windows to take a video of your screen.
Click to skip to a section:
- How to record your screen on Windows 11 using the Snipping Tool
- How to record your screen on Windows 10 with the Xbox Game Bar
- How to record your screen on Windows using Dropbox
Screen captures or recordings can deliver game-changing impacts to a few increasingly crucial areas:
- Remote collaboration, team up anywhere—anytime
- Client presentations, wow clients with captivating visuals
- Team training, level up skills by creating engaging videos
It saves you time and effort by reducing the need to explain everything verbally. On top of that, it can be much easier to record yourself doing something and have others watch it later.
If you’re here because you need to record a video of your screen and yourself at the same time, skip ahead to the Dropbox section.
How to record a video on Windows 11 with the Snipping Tool
The Windows Snipping Tool is a convenient way to instantly record video. The Snipping Tool is useful for quick clips and taking screenshots that are ready to use in a few clicks.
You can’t snip video in Windows 10 but, if you’re using Windows 11, try it by doing the following:
- Open the Snipping Tool app, you can look for it in the Start menu search box.
- Toggle the little camera/movie camera switch on the toolbar so it’s set to Record.
- Press New to activate record mode and drag and drop a rectangle where you want to capture.
- Press Start, it will count down and the tool begins recording.
- Scroll, click, or move as you wish while recording your screen, and click Stop once you’re done.
A preview will show up and you can check/save the video—by default, the recording will go to your “Videos” folder.
The Snipping Tool has some limitations. While it’s helpful to have a free and pre-installed option, there are a few drawbacks to using the Snipping Tool for videos that are worth bearing in mind:
- No ability to record audio
- No built-in editing capabilities
- No multi-format support (only MP4)
While its simplicity can be helpful in a pinch, the Snipping Tool is generally only practical for shorter clips and screenshots.
How to record video of your screen on Windows 10 with the Xbox Game Bar
Windows 10 users can use the Xbox Game Bar, but this is an option for Windows 11 too. It’s good for longer clips (and lets you record audio), especially for stuff like gaming and app demos.
You can try it now (both the Snipping Tool and Game Bar are native apps) by doing the following:
- Press the Windows key + G to open the Game Bar, or look for it in the Start menu search box.
- Click the Camera icon and then select the little round Record button to begin taking video.
- If you want to record audio too, toggle the Microphone icon—so there is no line through it.
- Click the square-shaped Stop icon when you’re ready—it’s in the same spot you click Record.
- Once you’re done, click the See my captures button to view the recording again or view the file.
By default, these videos are saved in a subfolder called Captures, which is in your Videos folder.
Here are the downsides of using the Xbox Game Bar to record video:
- You are limited to a maximum of 30 minutes of recording at a time
- No editing or annotations/post-production capabilities
- No use for the other features if you just want to record a video—such as its gaming integrations
- Primarily designed for recording and sharing gaming clips
Unlike the Snipping Tool, the Xbox Game Bar records audio. However, it’s worth keeping in mind that the audio recording, along with all of its other features, have been developed with gaming capture in-mind.
So, if you’re in need of an advanced video recording tool for professionals and collaborators, look no further than Dropbox.
How to record video on Windows by using Dropbox
While the Snipping Tool and Xbox Game Bar are built-in ways to record your screen on Windows, they have their limitations. Dropbox is a cross-platform video recording tool, purpose-built for professionals and modern workflows.
Anyone can try it for free to get started, and taking a screen recording is as simple as the following few steps:
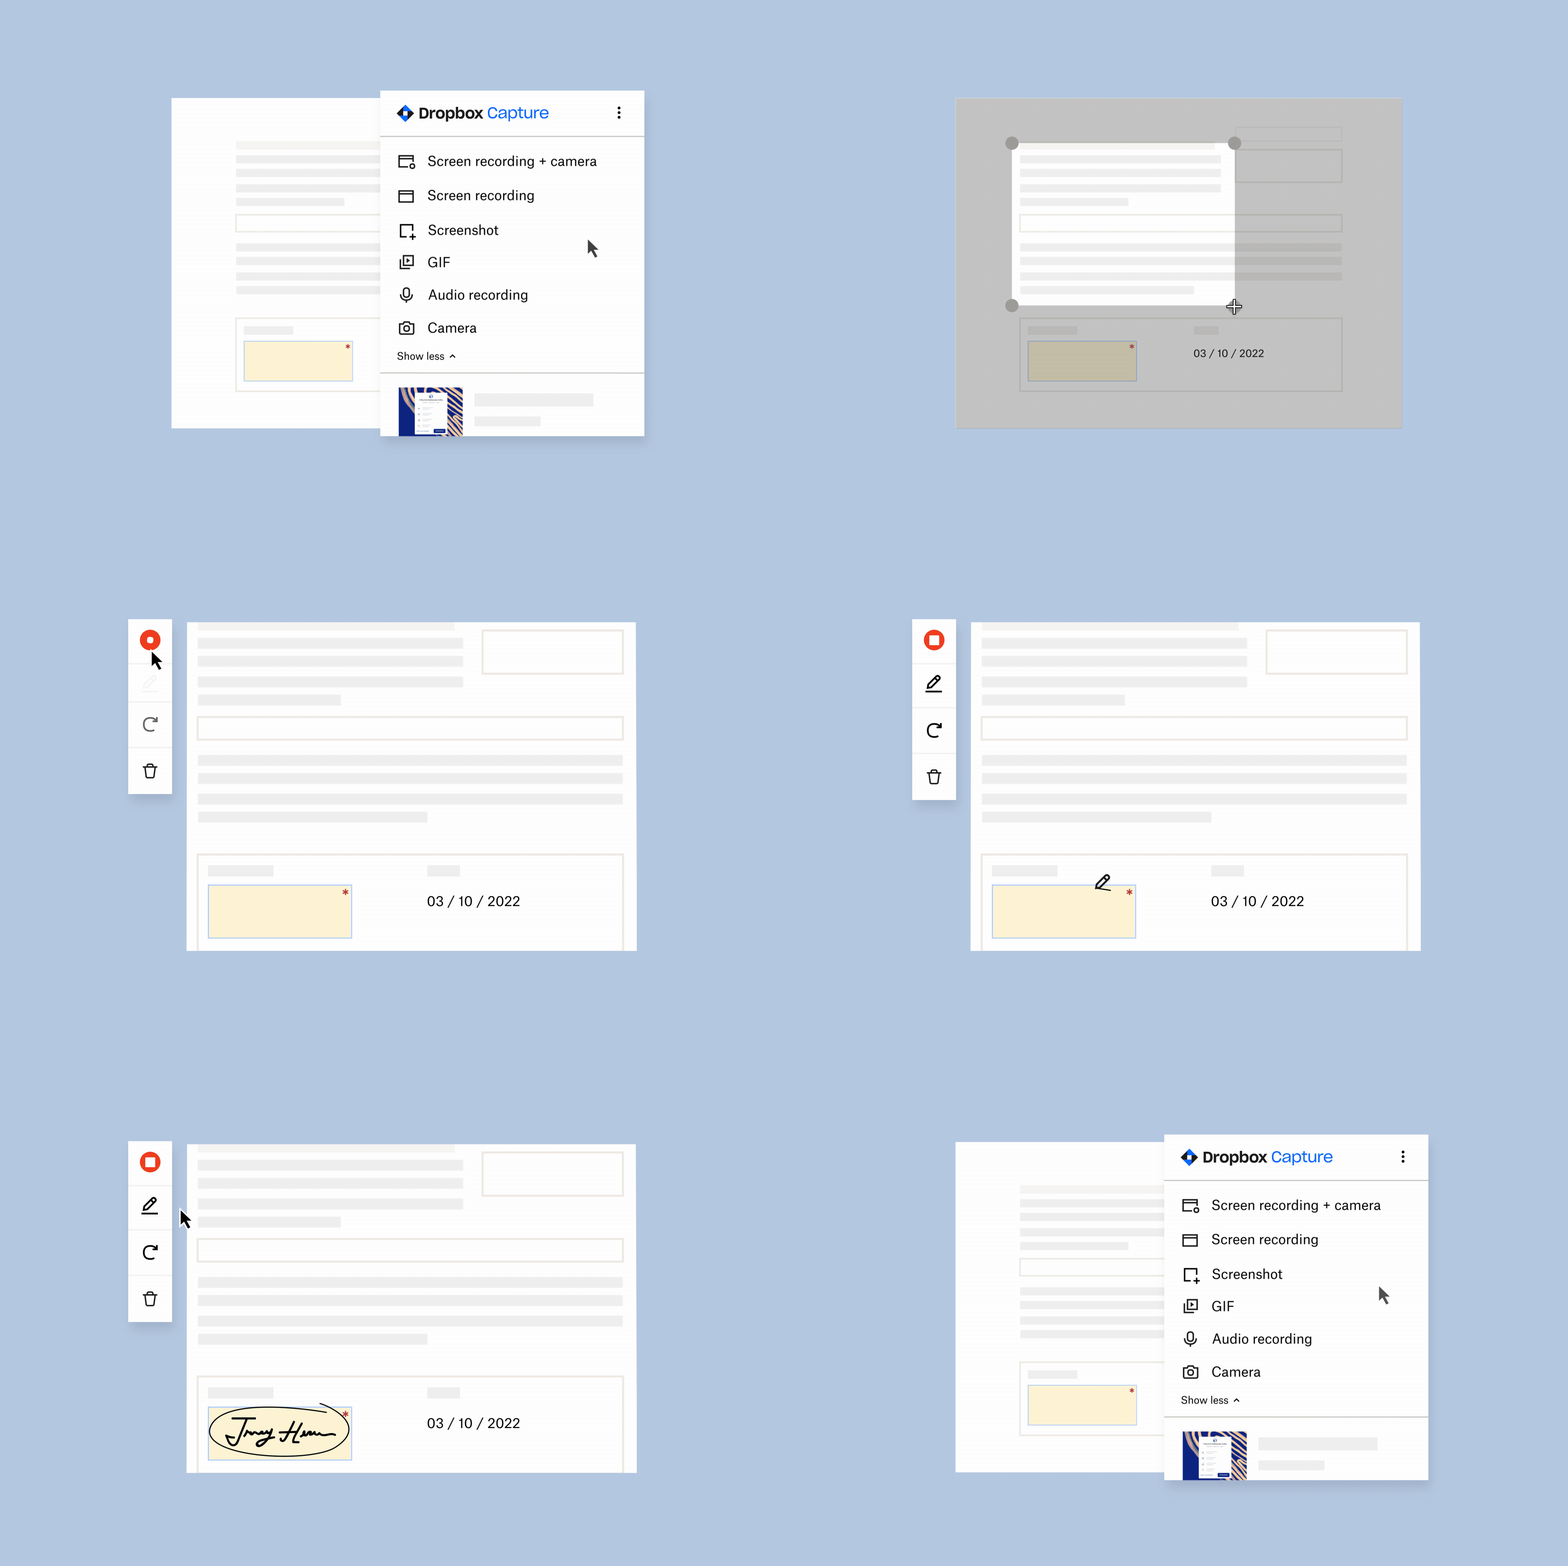
- Open the Dropbox app.
- Click Screen recording + Camera or Screen recording.
- Select what part of your screen you want like to capture.
- Click the Red Circle icon in the left-side panel to start recording—click again to stop recording.
The video will open automatically in a new tab, where you can watch, make edits, or share in a few clicks. Dropbox works on both macOS and Windows and includes a few other extra features:
- Record your full screen, or part of it, add annotations, highlight, or draw—for greater flexibility
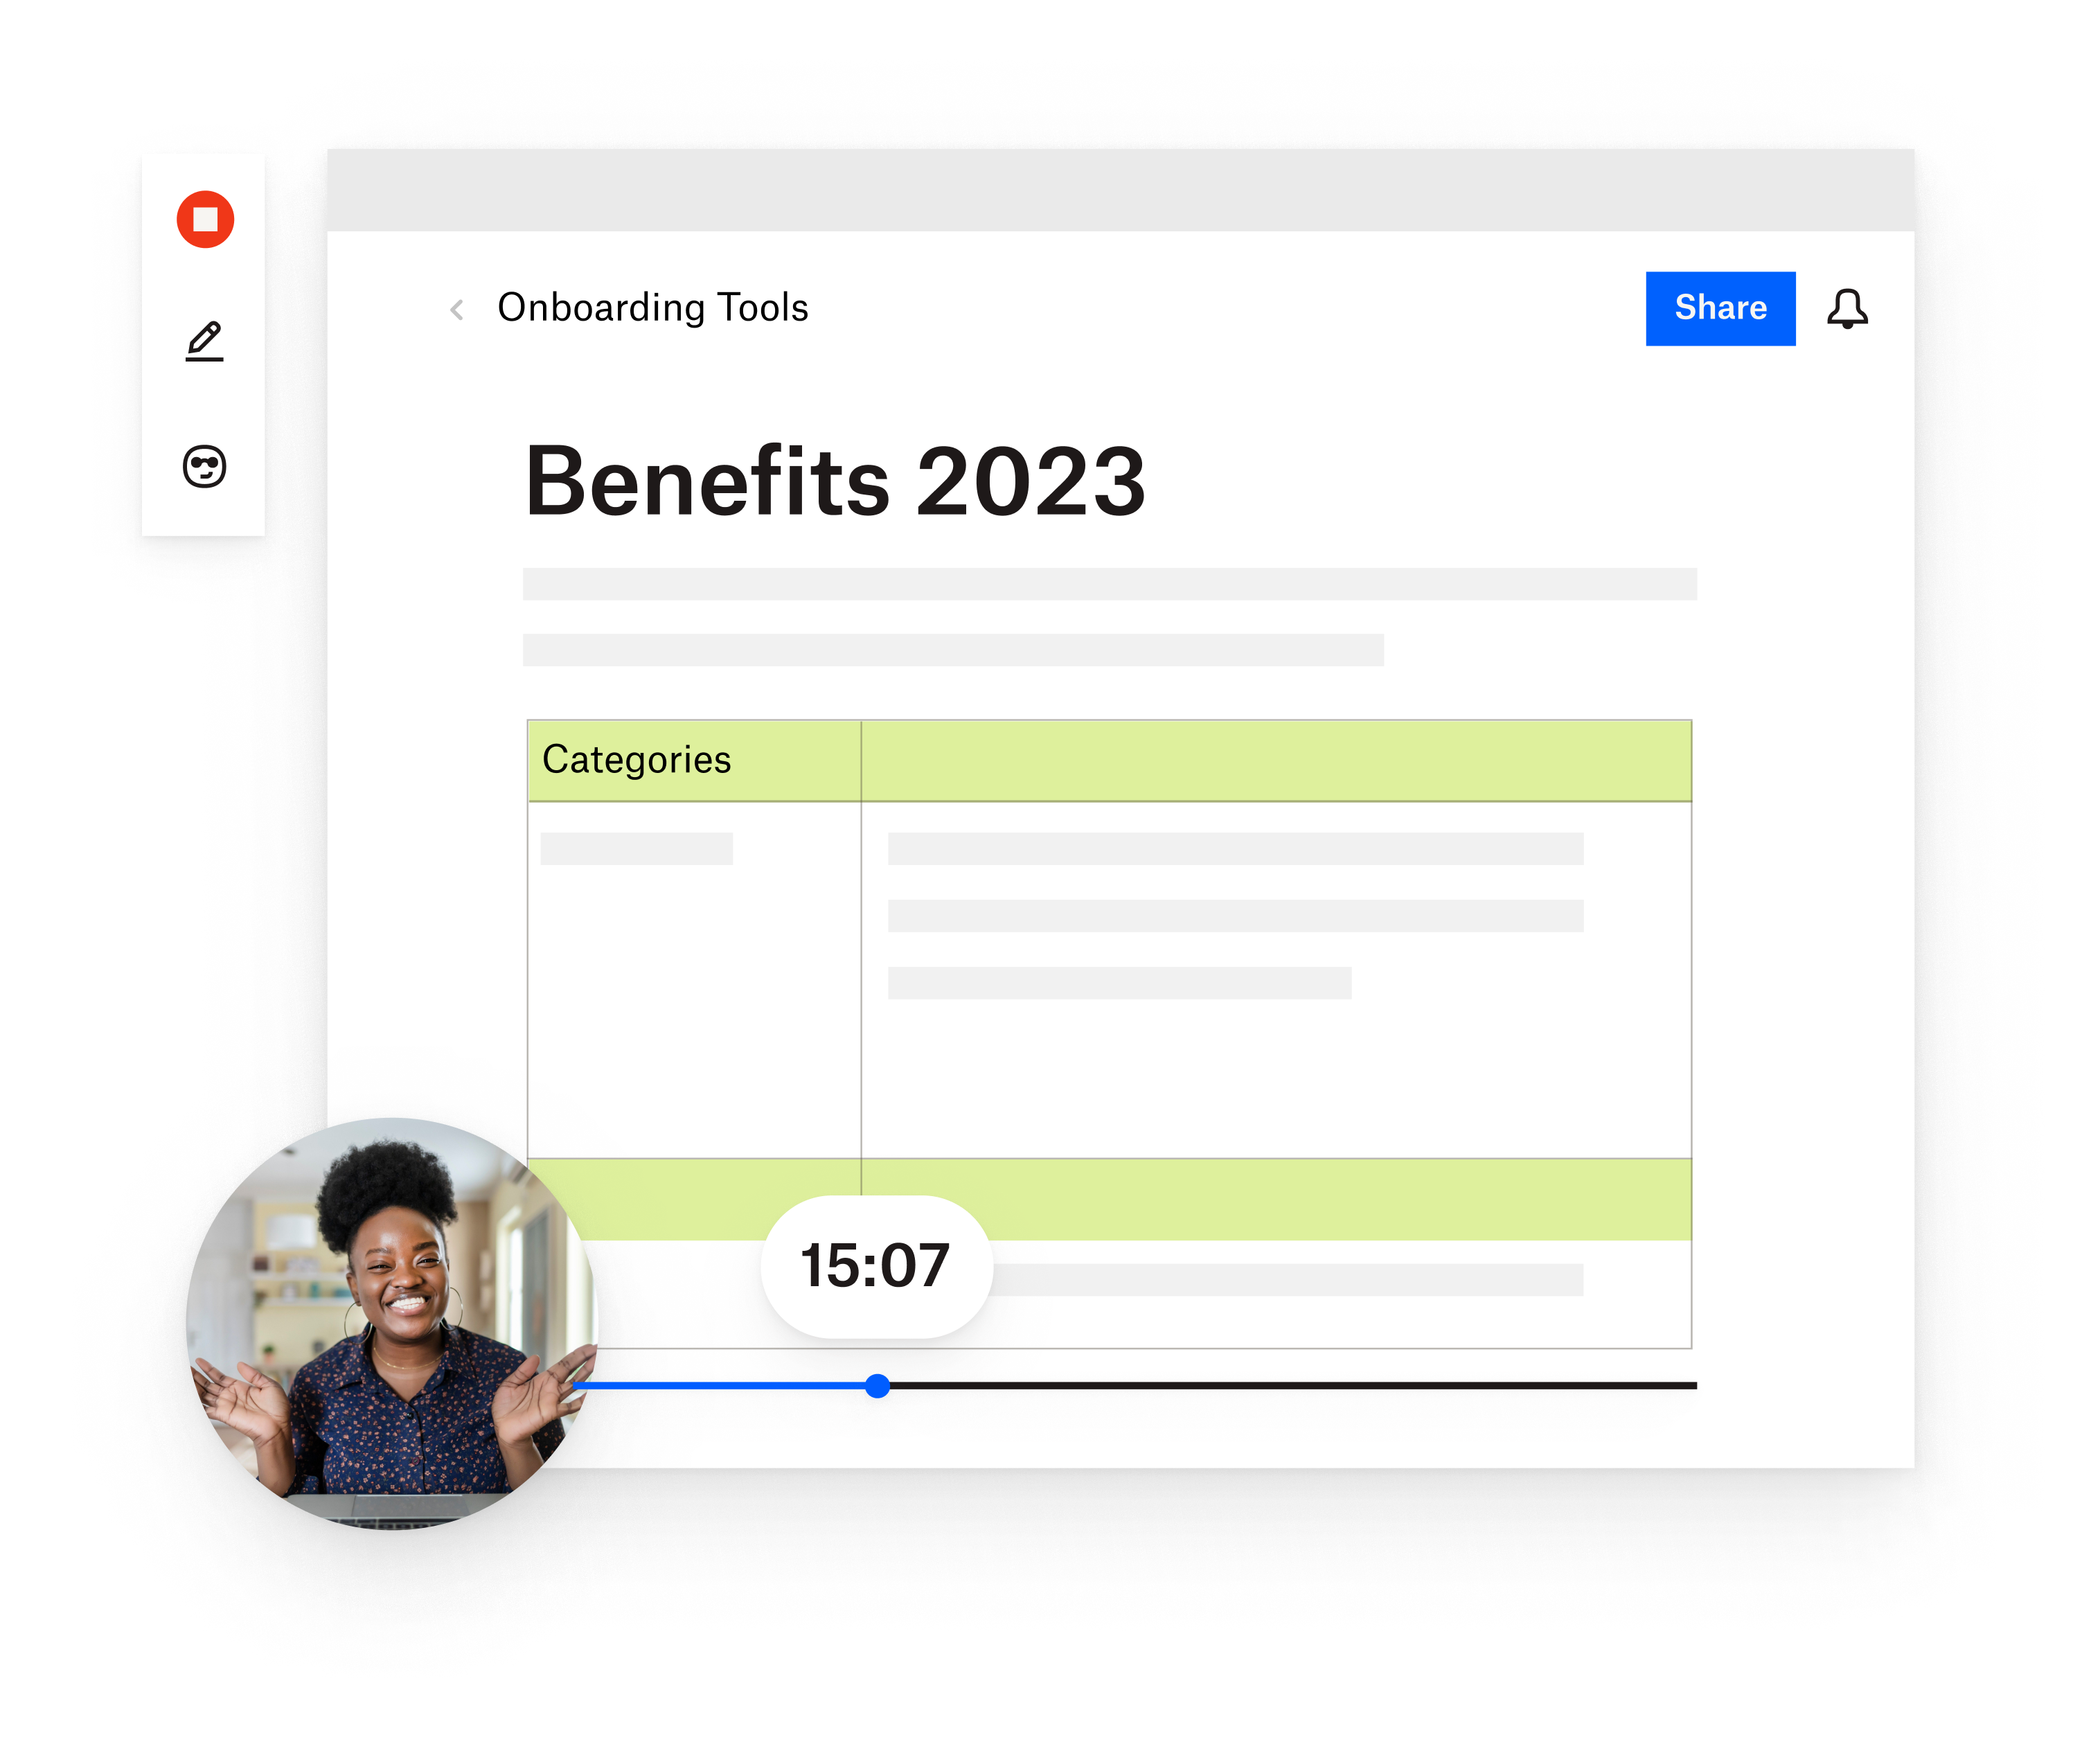
- Capture high-quality video and audio from your webcam, screen, or both at once
- Easily share with other people, add watermarks, and store securely in your Dropbox account
Dropbox is a versatile screen recording tool, designed specifically for quick, easy communication.

Dropbox is ideal for recording video on Windows because it does it all—fast/simple screenshots and clips, longer videos or streams, and more. Try it and start recording your screen in seconds.
See what one of our professional users has to say about how Dropbox improves their workflow:
When I get questions on, how do I do this?, it’s very easy to quickly record a video to capture that process and send it, rather than jumping on a video call or sending an email or writing a document. By viewing a one-minute video that resolves a problem, our employees can also take back time that would’ve been used to troubleshoot. Capture is a time saver.
Want to learn more about using Dropbox? See How to record your screen for more details.
How Dropbox improves your workflow
Dropbox allows you to completely replace the Snipping Tool on Windows 11 and avoid using the Xbox Game Bar on Windows 10, but it improves your workflow in some highly practical ways too:
- Cutting down on meetings, Dropbox lets you work asynchronously by sending tutorial videos, presentations, or status updates for teams to view when they have time
- Reduce onboarding time, which is possible by replacing unnecessary emails, training documents, and in-person mentorship with creative how-to videos
- Streamline pitches and cut through rigid scheduling, with a personalized presentation or proposal you can securely share with key stakeholders
- Never switch apps—share, capture, and edit video all in one place
If you’re a person who finds a lot of their job is answering questions, Dropbox is an ideal tool to show instead of tell—and make it easy for people to hear or engage with you via screen recordings.
